After flying RC helicopters for some time, I reckon that it was time to look at some aircraft. I was fascinated with electric gliders. Its magestic and graceful flight in the air sent me shopping for one.
I set my eyes on some OK models mainly Tumeric, Stevia, Oregano, Citron , Majoram and Mace. All were great looking planes and all have low wing loading. But there was one problem, the price was too expensive for me to buy it and I did not like the idea of having a generic aircraft that others could also easily own one.
So I decided to save some money and build one. I happen to be good with tools and hand work. I decided on one glider which was the Guppy. This was also my first scratch build after so many years.
When I was younger in my student days, I build with my Dad some simple models.
Here is one pic of the Guppy plan.

The designer of this plane was NOT me. I got the plan printed in full scale and checked the dimension of the wings which measured 1.5 meters.
The build then started on the Aug 2009. Parts had to be hand cut from Balsa sheets. Every piece was hand cut and my index fingers started to sore especially cutting thicker balsa sheets. Part count was nearly hundred, but not all were cut on the same day and it cannot be done so.
The build then started on the Aug 2009. Parts had to be hand cut from Balsa sheets. Every piece was hand cut and my index fingers started to sore especially cutting thicker balsa sheets. Part count was nearly hundred, but not all were cut on the same day and it cannot be done so.
I started building the wings first. Wing ribs were cut first and the wing spars were glue onto the sheeting to provide a base for the ribs to sit on flat. With so many ribs, some ribs were under cut and some over size. But all have to be corrected to the same profile using sand paper.
Most people would use pins to hold the parts down during the gluing process but I did not like the idea of leaving holes in my model so I went for another approach. There is more than one way to skin a cat.
Some pics of the wings done up


I will disclose the mystery of the toes and CD cover later. Nice toes right? Ha ha!
Then came the upper wing sheeting. This was easy for the main wings. But when I was gluing the wing tip, how do i introduce the wing twist while waiting for the upper 1 mm balsa sheeting to cure? ( The answer to the toes and CD cover). How do I achieve two things at the same time?
The wing twist was critical, it helps the glider to roll. Without the twist, the glider would just yaw left and right since the Guppy has no ailerons. I thought about the problem for some days and then came out with the solution of using a flat plywood drilled with holes and fit it with rivet to hold rubber bands. These rubber bands would hold down the top balsa sheeting and at the same time introducing the wing twist!
And thus was born the jigging device to hold rubber bands in place.
Some pics to show the process.
 |
| Winglet sheeting |
 |
| Main wing sheeting |
The making process was fun until the wing tips. Because the plan does not show in three dimension, I had to imagine the wing tip combining all the data from the plans. I still did not get it and first few tries were wrong.

I made 3 attempts to get the wing tips. On the second try, I ask the internet forum for some help and they showed me some pics of the wing tips. The wing tips are carved out from thick balsa block. On the third try, I succeeded and the room was full of balsa dust and of course I breath in some.
Because the tips were very fragile, I glassed it with fiber cloth and epoxy. Then the same was done for the right wing, mind you both had to be symmetrical.

 |
| Checking for symmetry |
 |
| Test fit of wing tip |
 |
| Checking for symmetry after gluing to winglet |
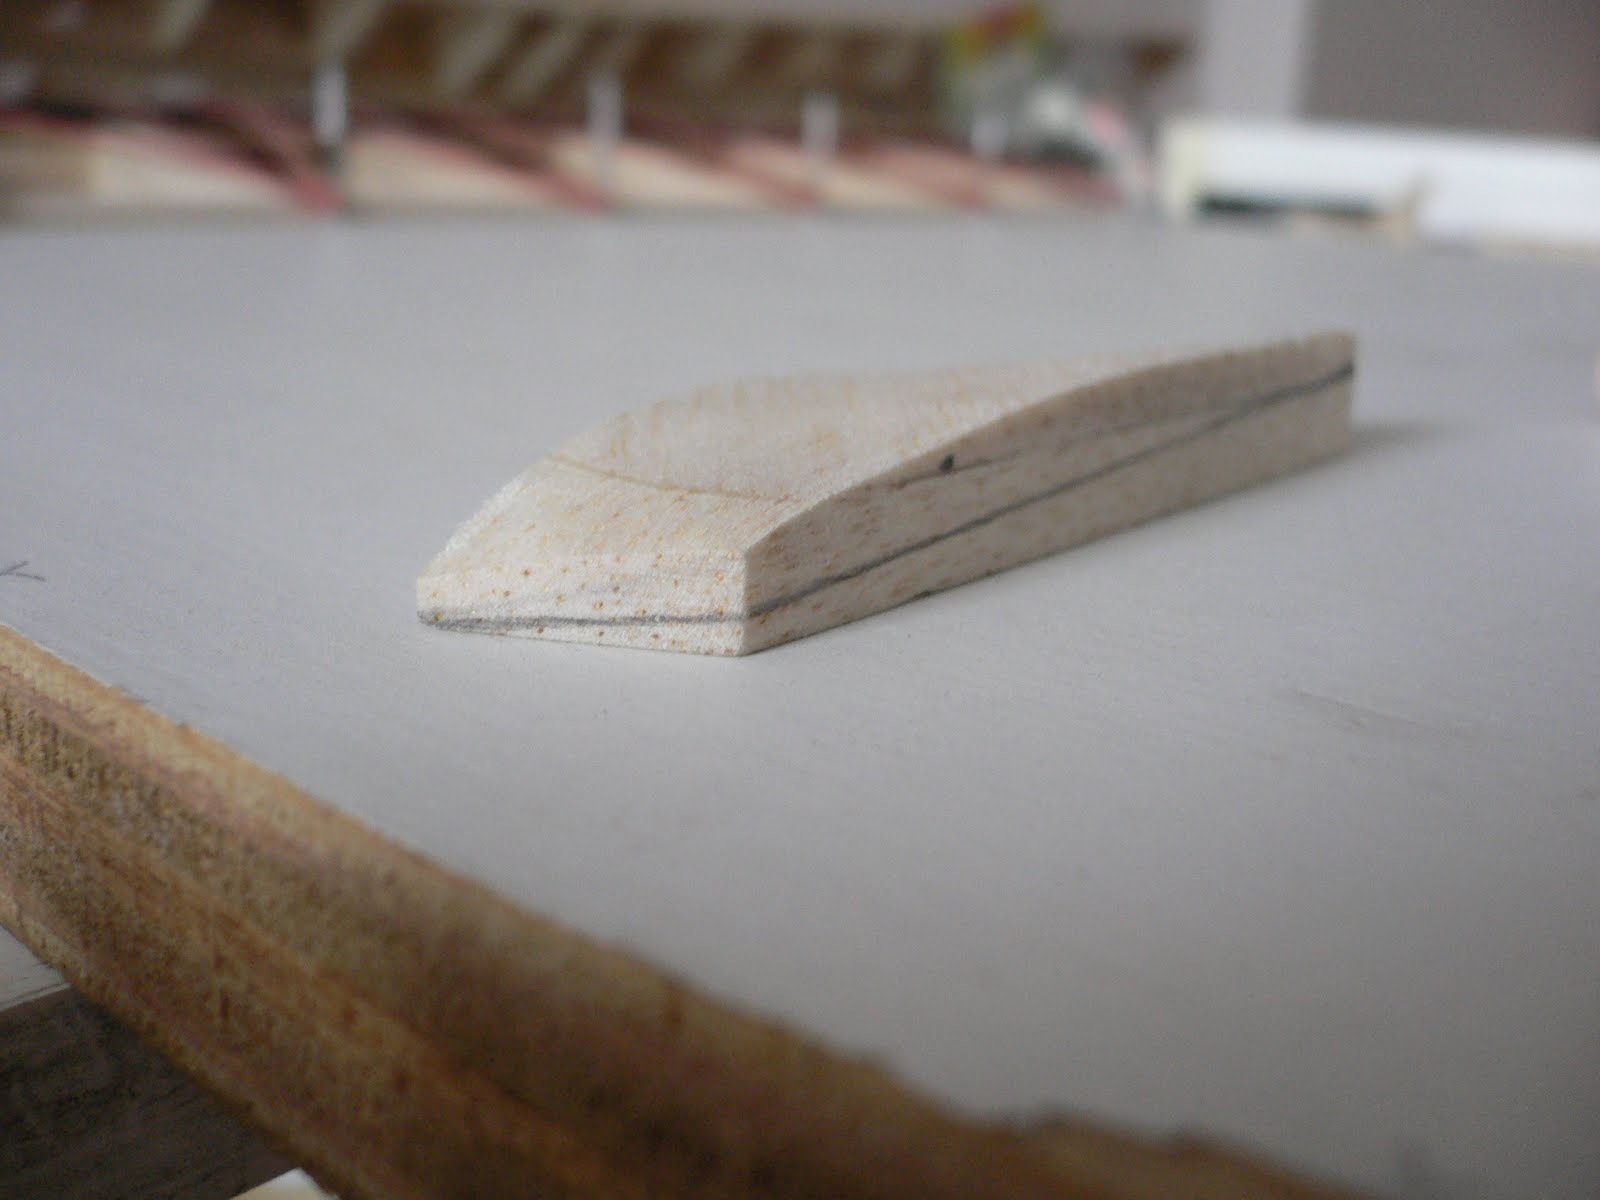
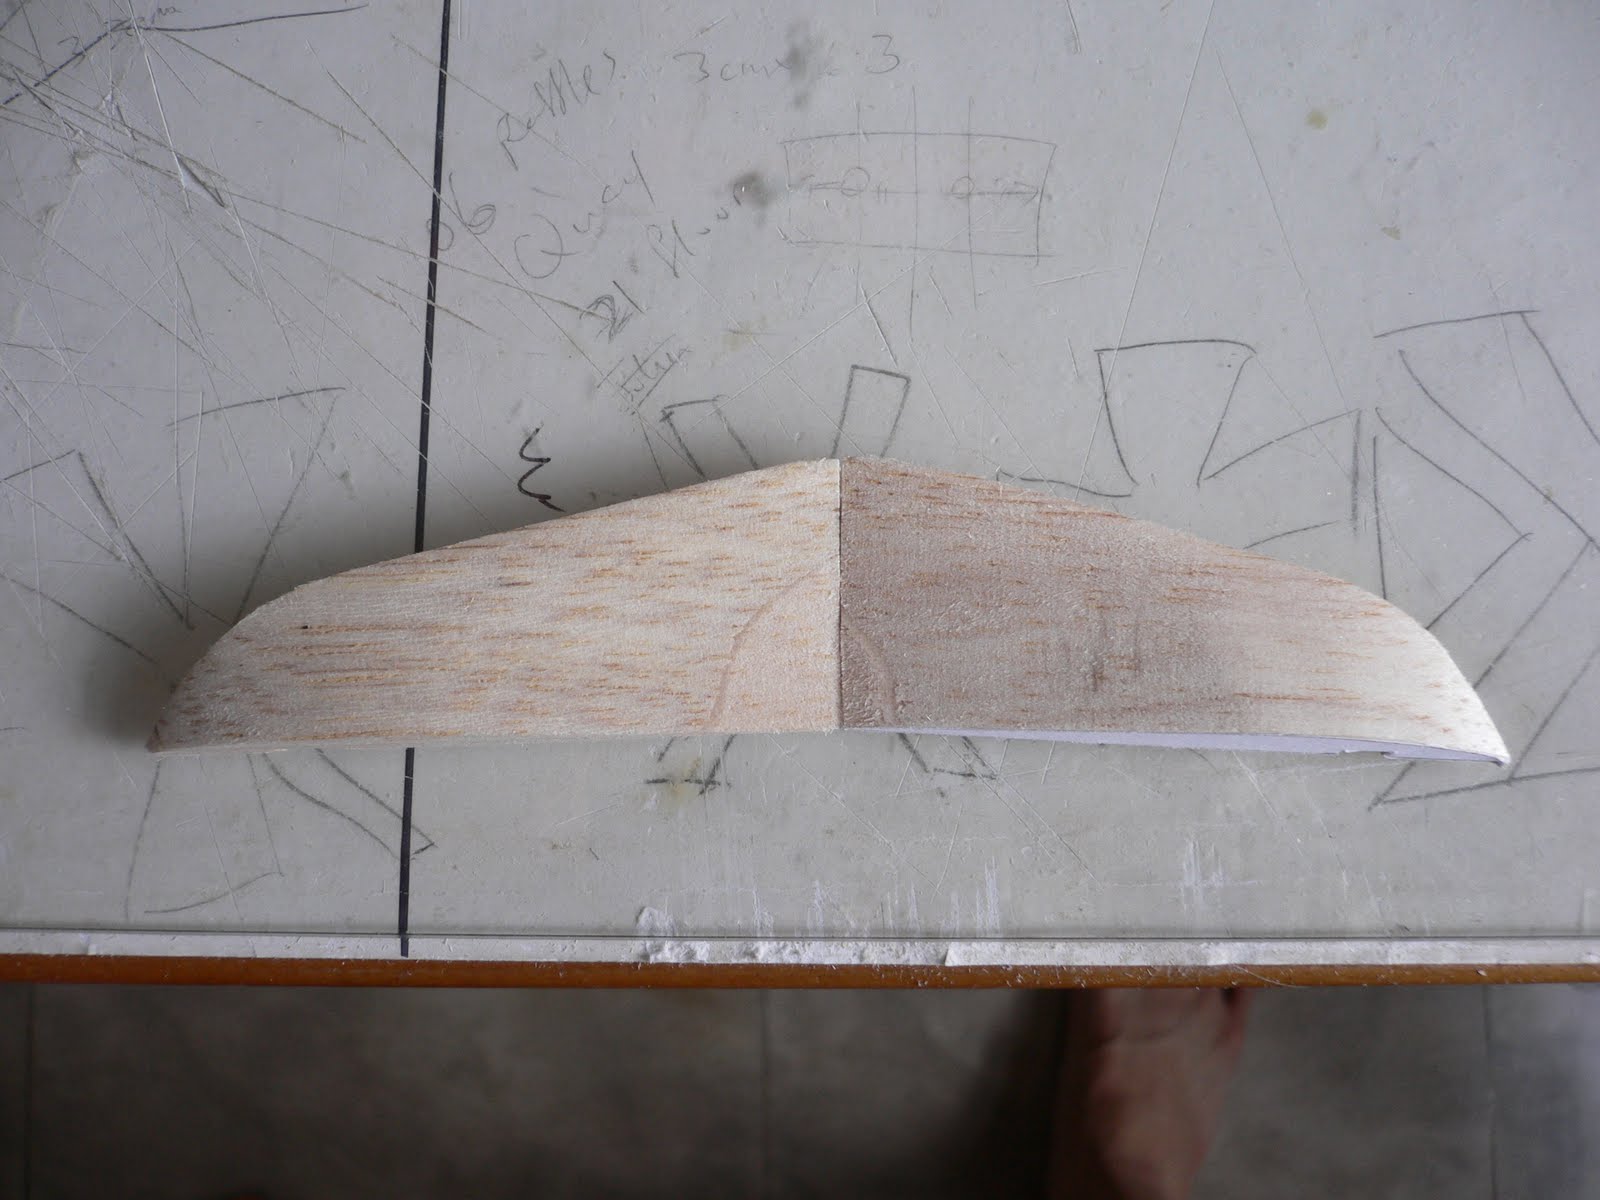
With the wings done, I proceed to make the fuselage which was two parts joined together. The bottom of the fuse was curved and I had to make a styrofoam box to force out the shape. The Balsa wood was left overnight to take shape. You can see the shape of the final wood in the pic. Then it was cut to the exact shape and bonded to the side pieces.

The bulkheads were also cut out but its ply wood. They serve as wing attachment points. The ply wood was also very hard to cut to the exact size since they are very hard, don't bother with the pen knife, I went for the saw approach. Wish I had powered table bench saw. I increased the thickness of the bulkheads to receive the plastic bolts so I did not have to use a metal nut.


 |
| Rear former, notice the bevel edge necessary later for gluing |
 |
| Gluing the front former |
 |
| Gluing the motor mount |
With that done, I glued everything in place and proceed to mate the tail part to the front fuselage.
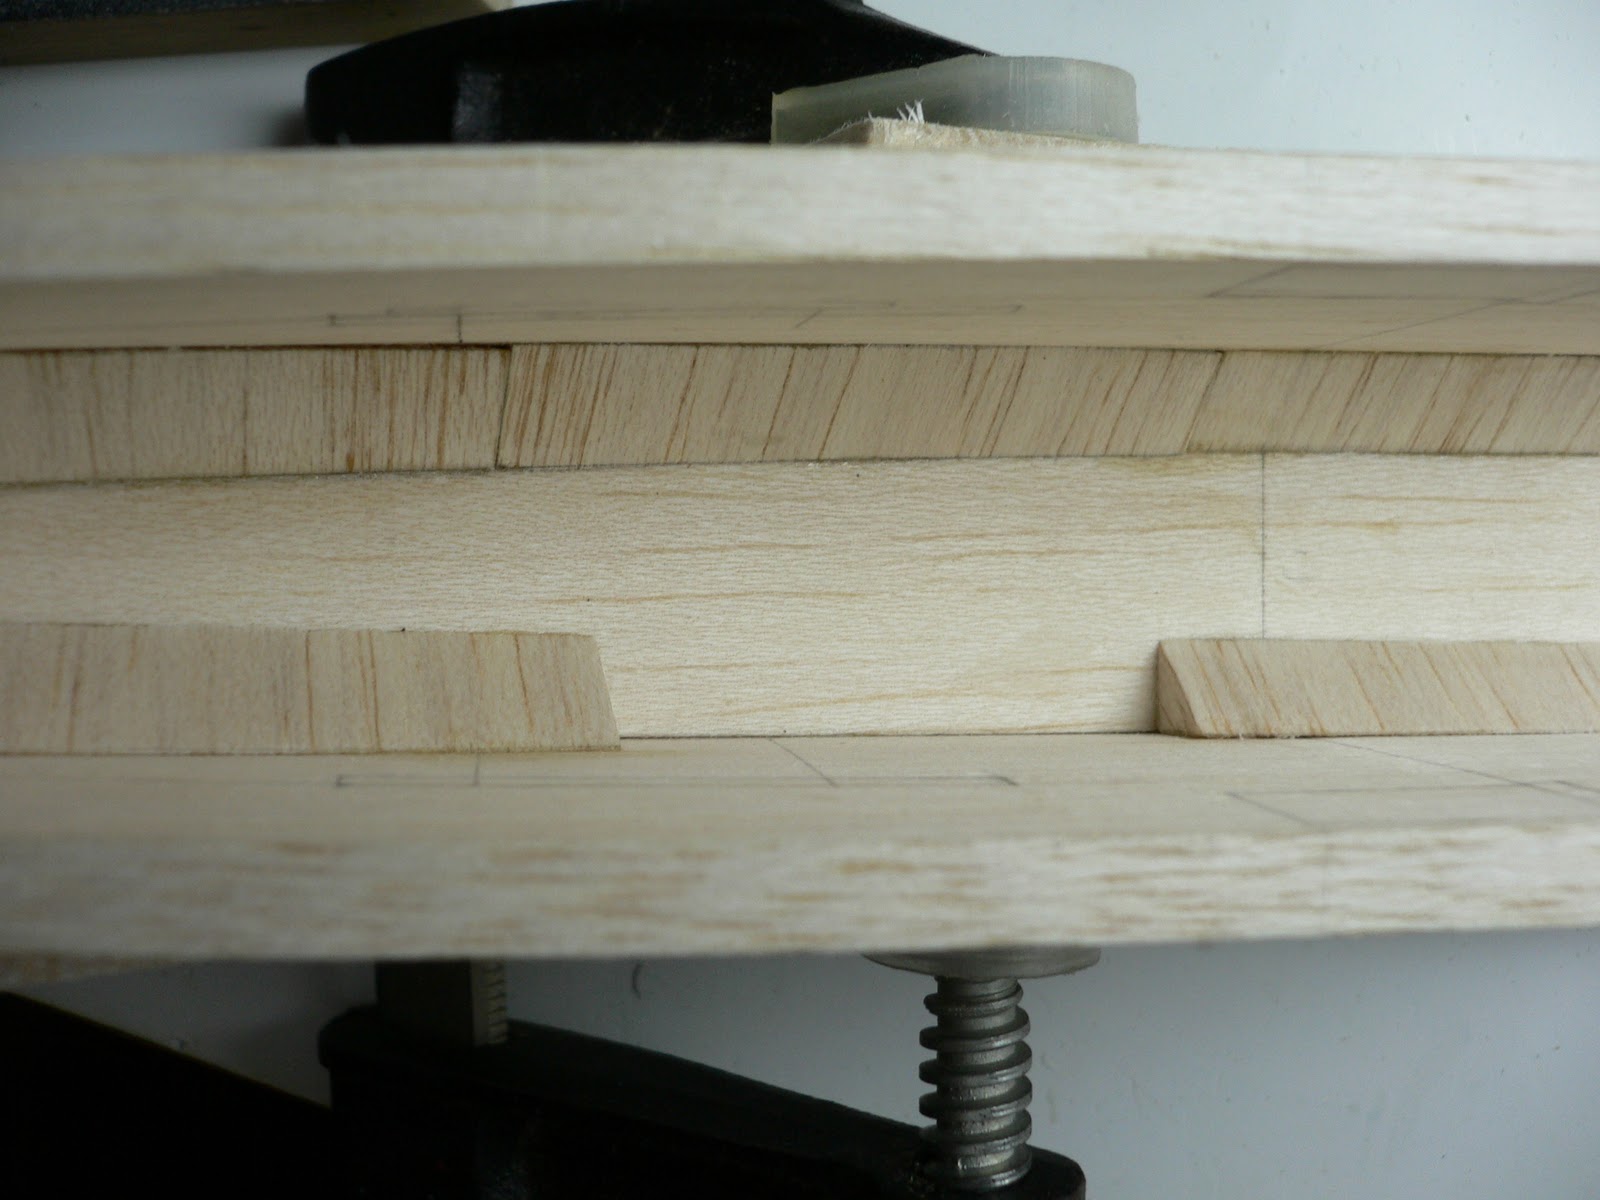
The fuselarge also needed triangular strips and had to be cut in a particular grain direction so that it fits the at right angle but able to bend slightly. This part has to be cut carefully as it is the only material that holds the sides to the bottom piece when the fuse is sanded to the final curves, see the plans carefully and you will know what I mean.. The author suggested using a saw to cut it but after a few attempts I gave up and use another approach, power tools!
 |
| When cut correctly two pieces of triangular strip makes a perfect square |
Some pics of the triangular strips in place


After gluing the triangular strips, came the motor mount. Because the plan recommended front mount and using brushed motor, I chose otherwise to use brushless setup but ran into problems. The wires would rub onto the bell casing and this is bad. This problem kept me thinking for one week. Finally I opted for one motor and reversed the shaft so that the motor wires exited from its rear and wires would never rubbed onto the bell housing. Its no joke when motor wires rubbed while the glider is up in the air and when you will see smoke churning out of the nose, you know you are in big trouble.
Some pics of the motor mount and fuse clearance.


 |
| Before reversal of motor shaft |
 |
| After reversing motor shaft |
The author recommends sticking the servos to the sides of the fuselarge. I was concerned the tape might give way over time so I made servo mounts for the HS65
 |
| Proper mount for the servos |
 |
| Vertical fin with build in screws for horizontal stab |
 |
| Drilling the wing to accept the fixing bolt, very critical |
Sanding the fuselarge to the right shape The deepest indentation shows how much of material needs to be remove d.
d.
 d.
d. 
 |
| The completed Guppy |
Above shows the completed model. Not really, there is one more thing, the canopy, a big headache. I tried the boiling method, its really hopeless, the bottle shrink in all the thin places and the thicker areas did not shape at all. Moreover the bottle has to be quite big to fit the mould. I gave up using this method and went for the pro approach. The vacuum forming method. Here is a video of it.
http://www.youtube.com/watch?v=aCV-yyqzGF8 (view in HD)
One try is all it takes, one perfect canopy. I covered the wings with Ultracote and body with Litecote. Ultracote is great, sticks well and shrinks perfect but its a bit heavy. With all the electronic inside, I weigh the aircraft and it tipped the scale at 540grams. Not too bad for a 3s 1050mah setup. I chose a 9x4" folding prop for a fast climb rate but not that fast to bloot the Lipo.
The completed aircraft.


Maiden was great with a slight tail heavy, I slightly relocate the battery and it flies great, 70 degree climb is easy with the powerful motor and 3s setup, descend rate is very slow, flight time is around 30 minutes on one discharge. 5 times full throttle is the max I can achieve for a full one minute climb to almost a small visible dot. Landing is very precise as the rate of descend is slow and graceful. 
Seventy degree climb, up.....up....up

Slow descend hunting for thermal

Power up and orientate for landing
Video of Guppy in flight http://www.youtube.com/watch?v=xq1Sm6FQMvI
Video of Guppy in flight http://www.youtube.com/watch?v=xq1Sm6FQMvI
