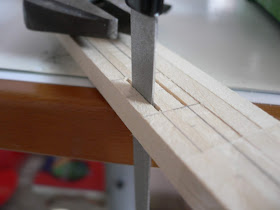
I converted the Nitro engine into an electric motor. First the wings ribs were cut out and stick the pieces together. Symmetrical wing foils are nasty so all the tools came in to help.
After slotting, stick on the nylon hinge piece to the wing rib
Making the ailerons using stock triangle but not the right gradient so more work
Cutting slots in the ailerons to receive the nylon hinges and make the bevel angle for smooth movement
According to the plans the wings have a dihedral angle so cut a dihedral brace and test fit the brace. Everything I do must fit in tight
and not too much slop, a habit from too much of helicopter building.
Next make the aileron torque tube from 3mm carbon steel and brass
bearing for again smooth movement. and solder on the threaded couplers
Now cut the slot in the Aileron to receive the torque tube
Don't forget to insert the brass bearing before you close the other end
of the torque tube. Its a night mare to bend these 3mm carbon steel. But
wait there is worse coming. Some pictures
Stick in the nylon hinges with extra reinforcement.
Cut the 5mm hard wood which goes to the center rib. Epoxy it to have
strong bond since the wing attaches to the fuse with this hard wood, no
CA for this one.
Checking for alignment and sticking the lower spar
Planking the wing's top sheet.
After planking, glue in the servo bracket and get ready to cut out the servo pocket
Cut the landing gear support square pegs, X marks the spot for precise drilling
Sheeting the lower wing leadimg edge
The remaining servo bracket glue in place
Glue in the square pegs to support the 5mm landing gear carbon steel wire.
More pics of the lower spar and the angle joint at the center of the wing
Next the elevator connect rod and its assembly
Cut out fuselarge and make the push rod from hard wood round peg and 3mm carbon steel
Also the former for the wing attachment. A bit too short so CA comes in handy and make up for the length
Next : Glue the former in place and the triangular stock piece.
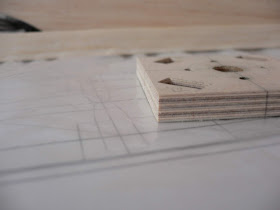
Then comes the motor mount made from 10mm ply with ventilation holes and
glue it in place together with the triangular stock pieces.
The battery tray is next
With that done, I cut the rudder and the slots to receive the nylon hinges. Marking the rudder for taper sanding
Planking the bottom of the fuse, cross grain.
Next comes the wing tip. Made from balsa block. Did not want to buy as
it was expensive so stick all the balance wood I have and made two
blocks
Now remove the excess material and sand to shape
Wingtip done and servo mounted with aileron in place
Next do the wing mounting for the fuse using ply. holes are drilled at
an angle so that the plastic screw sits flush and nice. The two ply are
join at an angle but right angled to the fuse, tricky part, and still
needs to be aligned to the wing's mounting holes.
Next is to bend the 3mm carbon steel for the tail landing gear. Very
hard to bend 90 degree bend and not in xy plane but xyz plane. Don't
forget the brass bearing before the last bent, if not its damn........
Now a little mod to the tail wheels. To make the plane as light, I chose
the plastic wheels. But it is not smooth so I added brass bearing in
the wheel so that it rotates on the steel landing gear, get the idea? Ok
a pic is worth a thousand words. Look carefully, you can see the brass
tube. Add a drop of oil and its ultra smooth. The wheel has almost no
weight and with this mod it will last a long time and more importantly
it rolls perfectly straight so that take off is true.
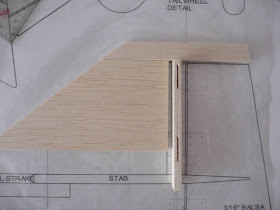
The horizontal stab with holes shed off 2 grams of weight.
Mould the aircraft's canopy. a picture is worth a thousand words.
Complete the build of the Super Pacer
Flies like a dream!!
With 9x 8 prop drawing 32A, plenty room for improvement. Could fit a 10 x
7 prop with 42A draw. The flight was good, rolls were axial in both
directions. Model flew straight and true. Very happy! 6 minutes of
flight time, landed at 3.8 V per cell (3s 2700mah).


No comments:
Post a Comment